2025-12-19 16:09:14
In recent years, book nooks have rapidly gained popularity among DIY enthusiasts, book lovers, and home décor fans. Placed neatly between books on a shelf, a book nook is more than just a decoration—it’s a tiny window into an imaginative world. From vintage streets and magical libraries to fantasy forests, a miniature book nook can instantly bring character and storytelling to your bookshelf.
If you’re searching for a complete guide on how to build book nook or how to make a book nook, this article will walk you through everything—from materials and design ideas to step-by-step construction—helping you successfully create your own do it yourself book nook.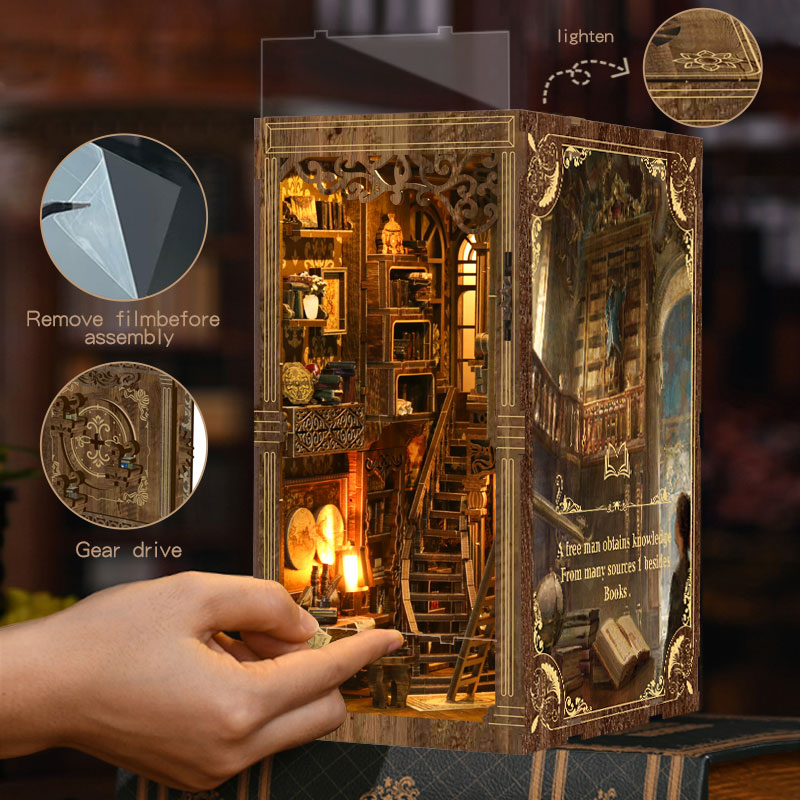
A book nook diorama is a three-dimensional miniature scene designed to fit between books on a shelf. Unlike traditional decorative items, book nooks combine model making, lighting design, and visual storytelling to create a strong sense of depth and immersion.
Common styles of book nooks include:
Vintage city streets
Fantasy or magical scenes
Japanese alleys or cafés
Literary- or movie-inspired designs
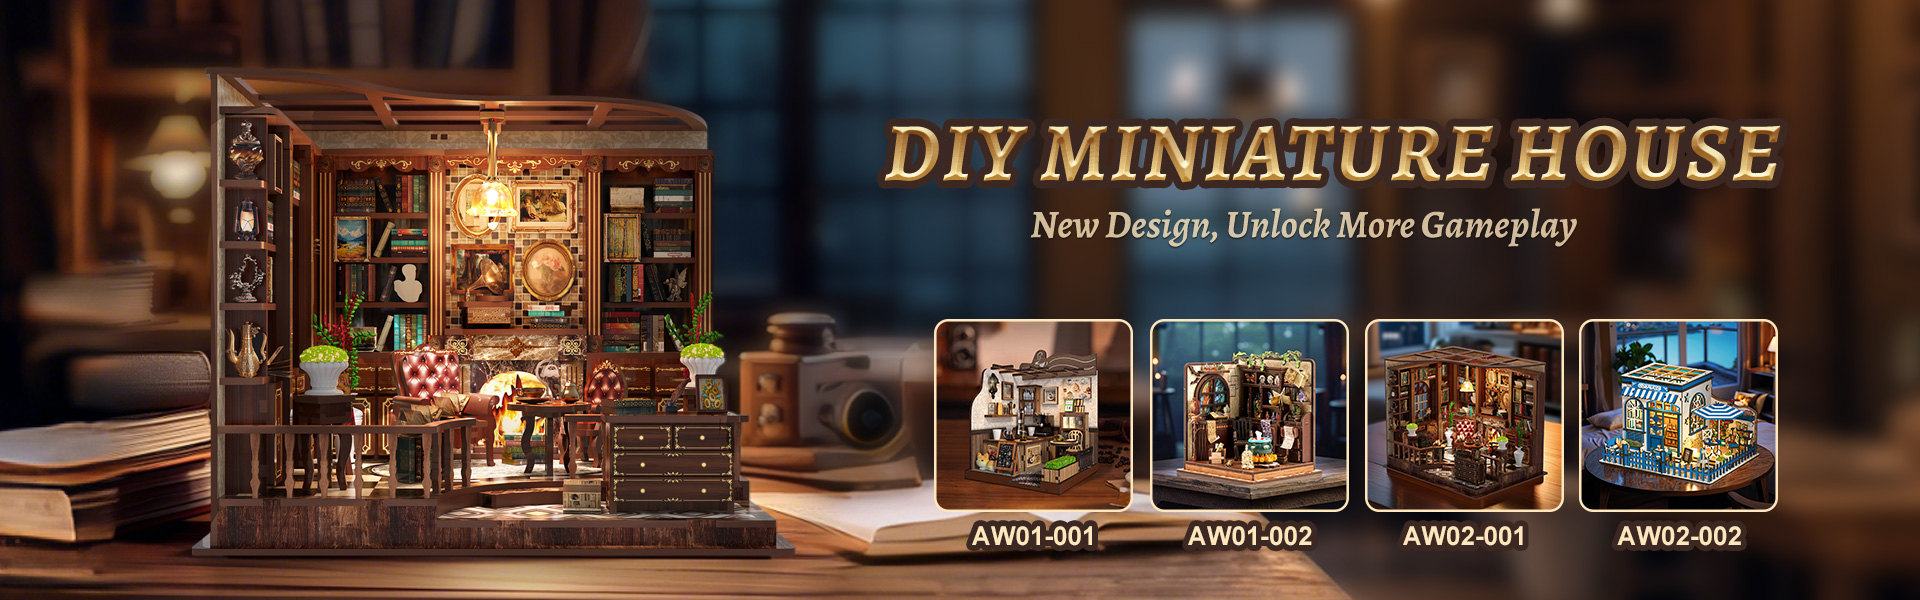
For beginners, starting with a book nook kit or book nook diy kit is an excellent way to learn the basics.
A typical book nook kit includes:
Laser-cut wooden or acrylic panels
Illustrated instructions
LED lights and battery box
Printed background and decorative elements
Advantages:
Lower difficulty level
No advanced tools required
Consistent and polished results
If this is your first do it yourself book nook, a kit helps you understand structure, proportions, and lighting placement quickly.
If you prefer full creative freedom, building a book nook diorama from scratch can be extremely rewarding. This approach is ideal for those with experience in model making, crafting, or painting.
Before starting how to make a book nook, prepare the following:
Wood boards, foam board, or thick cardboard
Craft knife, scissors, ruler
Wood glue or model adhesive
Acrylic paints or watercolors
LED lights (warm light works best)
Decide on dimensions (usually 8–10 cm wide and 18–23 cm tall)
Choose a theme (street scene, library, fantasy world, etc.)
Plan lighting positions and viewing angles
A successful miniature book nook relies heavily on depth and storytelling.
Whether you’re using a book nook diy kit or creating everything from scratch, begin with the frame:
Side panels
Base panel
Back panel
Top panel
Make sure everything is aligned and firmly glued. A solid structure is essential for a stable book nook.
The background is the soul of a book nook diorama. You can:
Use printed images to create distant scenery
Hand-paint walls, streets, or bookshelves
Build layered elements to enhance depth
In a miniature book nook, a clear foreground, detailed midground, and softer background make the scene feel realistic.
Details are what bring a do it yourself book nook to life:
Mini books
Doors, windows, and street lamps
Plants and figurines
Floor tiles, wood textures, weathered walls
Air-dry clay, wooden strips, or 3D-printed parts can be used to improve realism.
Lighting is what truly separates book nooks from standard miniatures. Common lighting ideas include:
Hidden LED strips on the top panel
Wall lamps or miniature streetlights
Warm lighting for a cozy atmosphere
Proper lighting transforms your book nook diorama, especially at night.
After all decorations are complete:
Test the lighting system
Clean up glue marks
Adjust balance and alignment
At this stage, your how to build book nook project is complete.
Use aged or recycled paper for a vintage look
Dry-brush walls to add texture and depth
Use translucent paper to simulate glowing windows
Limit your color palette to avoid visual clutter
These techniques help your book nook diorama look more professional and immersive.
Beyond personal collections, book nooks are widely used as:
Bookstore and café décor
Creative gifts and cultural products
Educational DIY projects
Content for DIY and crafting communities
As demand continues to grow, book nook kits have become popular creative products worldwide.
Whether you choose a book nook DIY kit or build everything by hand, creating a miniature book nook is a rewarding journey filled with creativity and patience. With this guide, you now understand the core techniques behind how to make a book nook.
When the lights turn on and the scene comes alive, you’ll realize:
Your bookshelf is no longer just a place for books—it’s a gateway to countless miniature worlds.

Room 201, Building 1, No. 1, Brick Kiln 2 Heng Road, Dongcheng Street, Dongguan City, Guangdong Province, China


Copyright © 2026 Dongguan XinYue Arts & Crafts Co., Ltd. All rights reserved.
Privacy Policy Cookie Policy Terms and Conditions

 English